
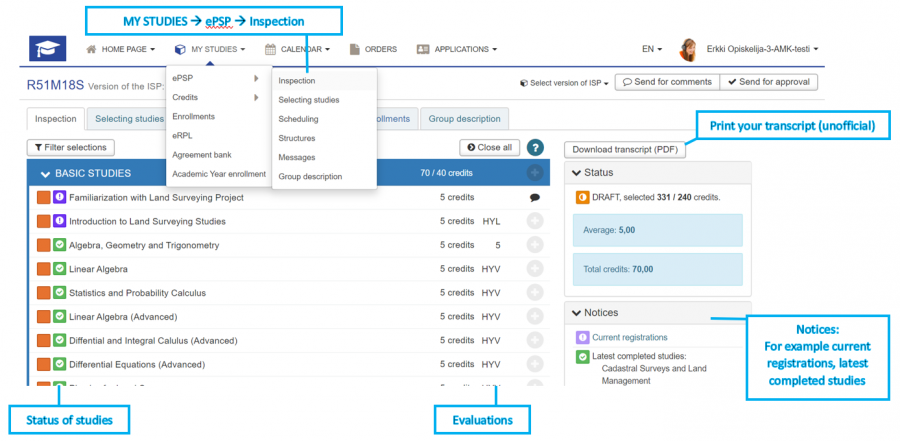
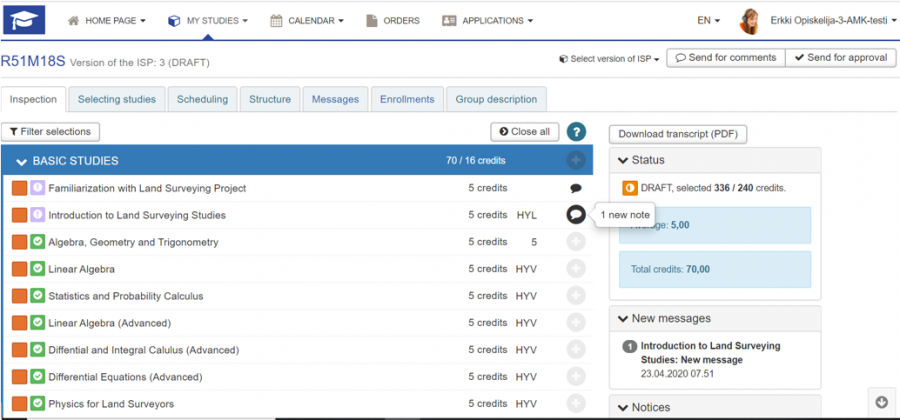
On the Inspection tab, you can view your ISP. When you start your studies, the ISP is based on the default study programme of your degree programme. As your studies progress, the content of your ISP changes according to your chosen studies and any credit transfers.
Click to enlarge the image
On the right hand side of the page, you can see information related to the status of your ISP and any new received messages. In the “Notices” field, you can see your latest study credits, course enrollment information and the statuses of recent credit transfer applications. You can also print your transcript of records (unofficial). You can change the version of the ISP you are viewing from the “Select version of ISP” drop-down menu. Please note that you can only edit the Draft version.
You can view your studies in larger or smaller entities by expanding or hiding the content of the study module.
Viewing study module content
- Click the name of the study module > a window opens that describes the study module information
- Close the window by selecting the cross at the top right corner or the cancel button
Viewing study unit content
-
- Select the name of the course > a window opens that describes the course information
- Close the window by selecting the cross at the top right corner or the cancel button
Viewing course implementation content
-
- Select the name of the course > a window opens that describes the course information
- If the course has future implementations, they will be displayed after the basic information of the course
- By clicking on the implementation name, you can view the details
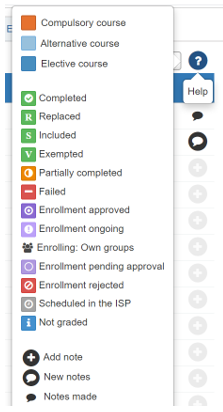
ISP symbols
The meanings of the symbols used in the ISP are available in the information box. You can view the symbol keys by clicking the question mark at the top right corner of the ISP. You can also view a symbol key by bringing the mouse pointer on top of the symbol in the ISP listing.
Click to enlarge the image
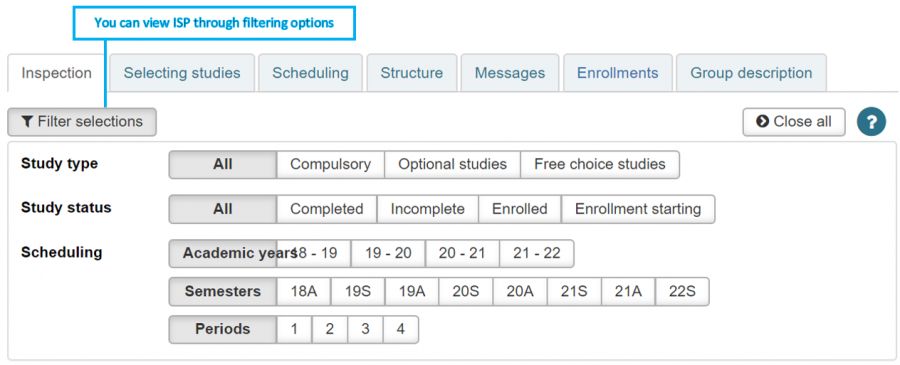
Filtering ISP data
You can also view your ISP by means of different filtering options.
Click to enlarge the image
Notes
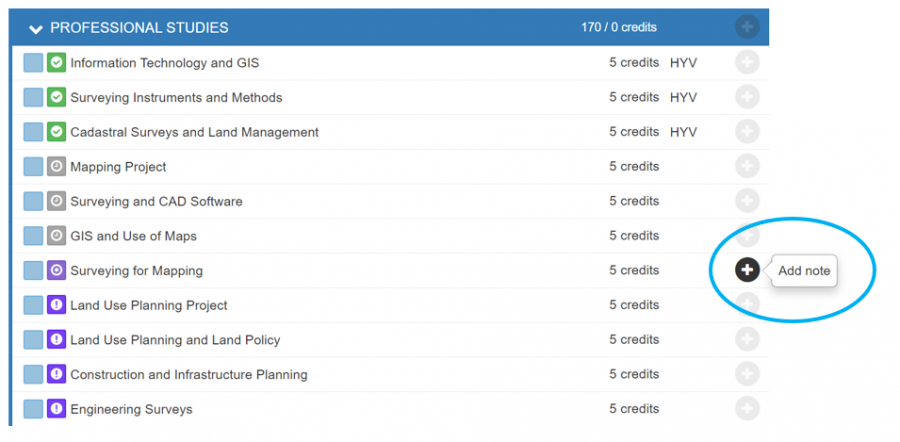
You can add your own notes related to a course or send questions related to a course to the course teacher and/or study counsellor. You can enter notes specific to study modules or courses. You can add a note for an individual course, for example if you want to complete it in an unusual manner or at an unusual time, such as through pedagogisation of work, in summer, apply credit transfer etc.
Click to enlarge the image
- Click the + sign or speech bubble icon following the name of the study module or course. The speech bubble is visible if notes have already been added.

Click to enlarge the image
- Select the recipient of the message. Select the instructor marked for your right to study and/or the teacher responsible for course implementation. If you do not mark the recipient, the note will only be visible to you.
- Add the subject of the message.
- Type the message in the window that opens. Remember to sign your message. The message is sent to the recipient’s e-mail address but does not include sender information.
- Select “Add note”.
The note shows in the ISP as a speech bubble. The instructor can read the note and also reply to it.
Click to enlarge the image
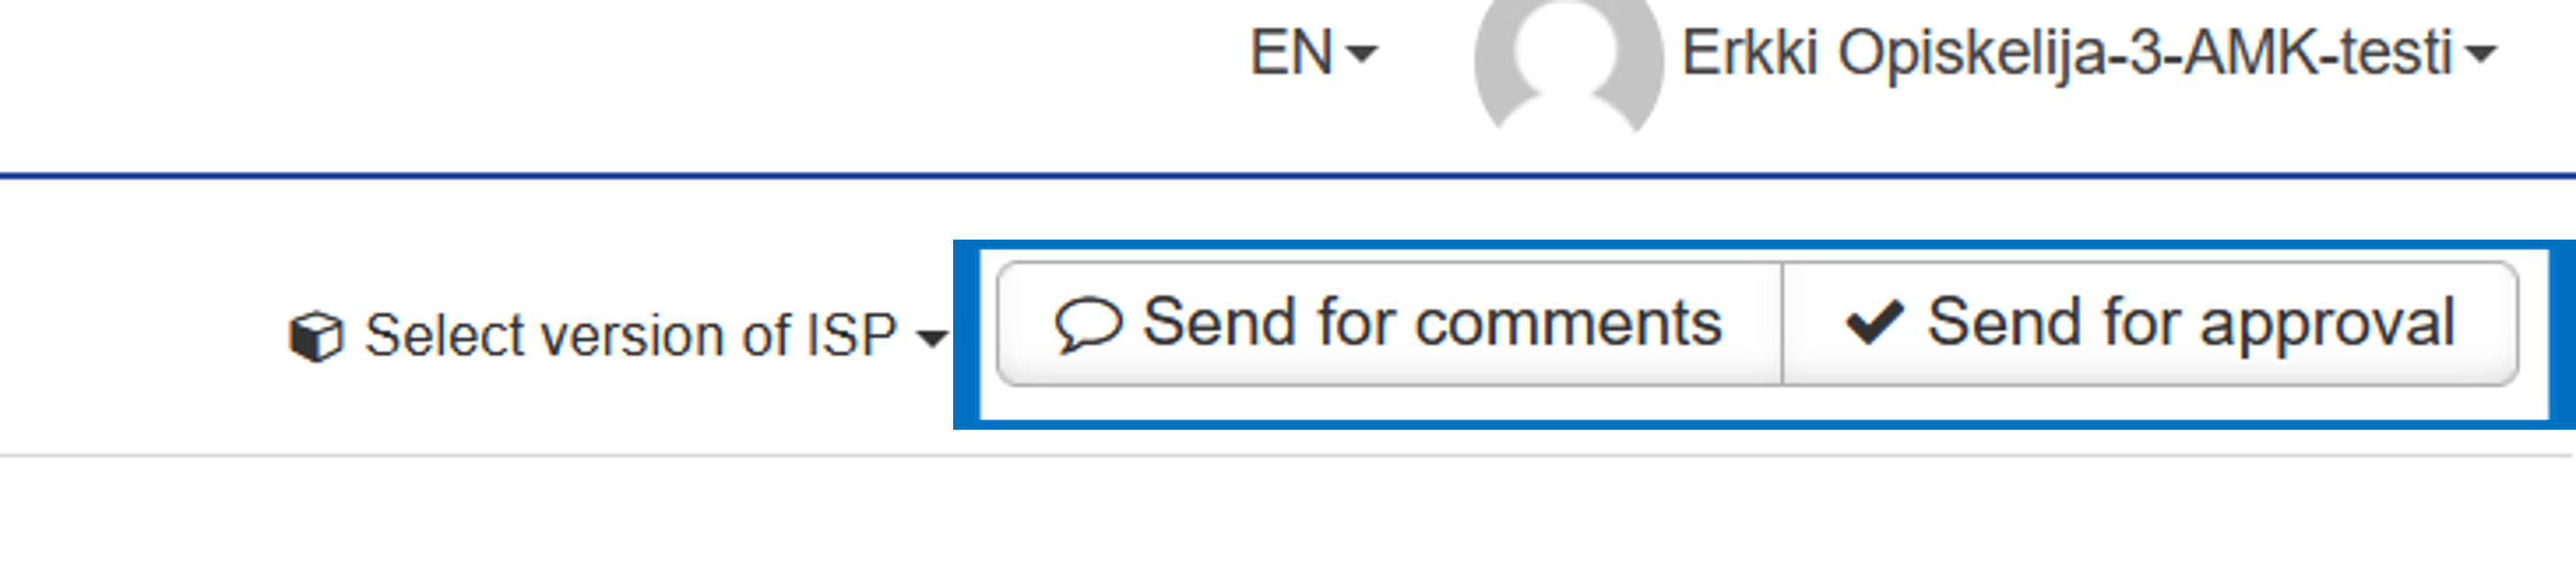
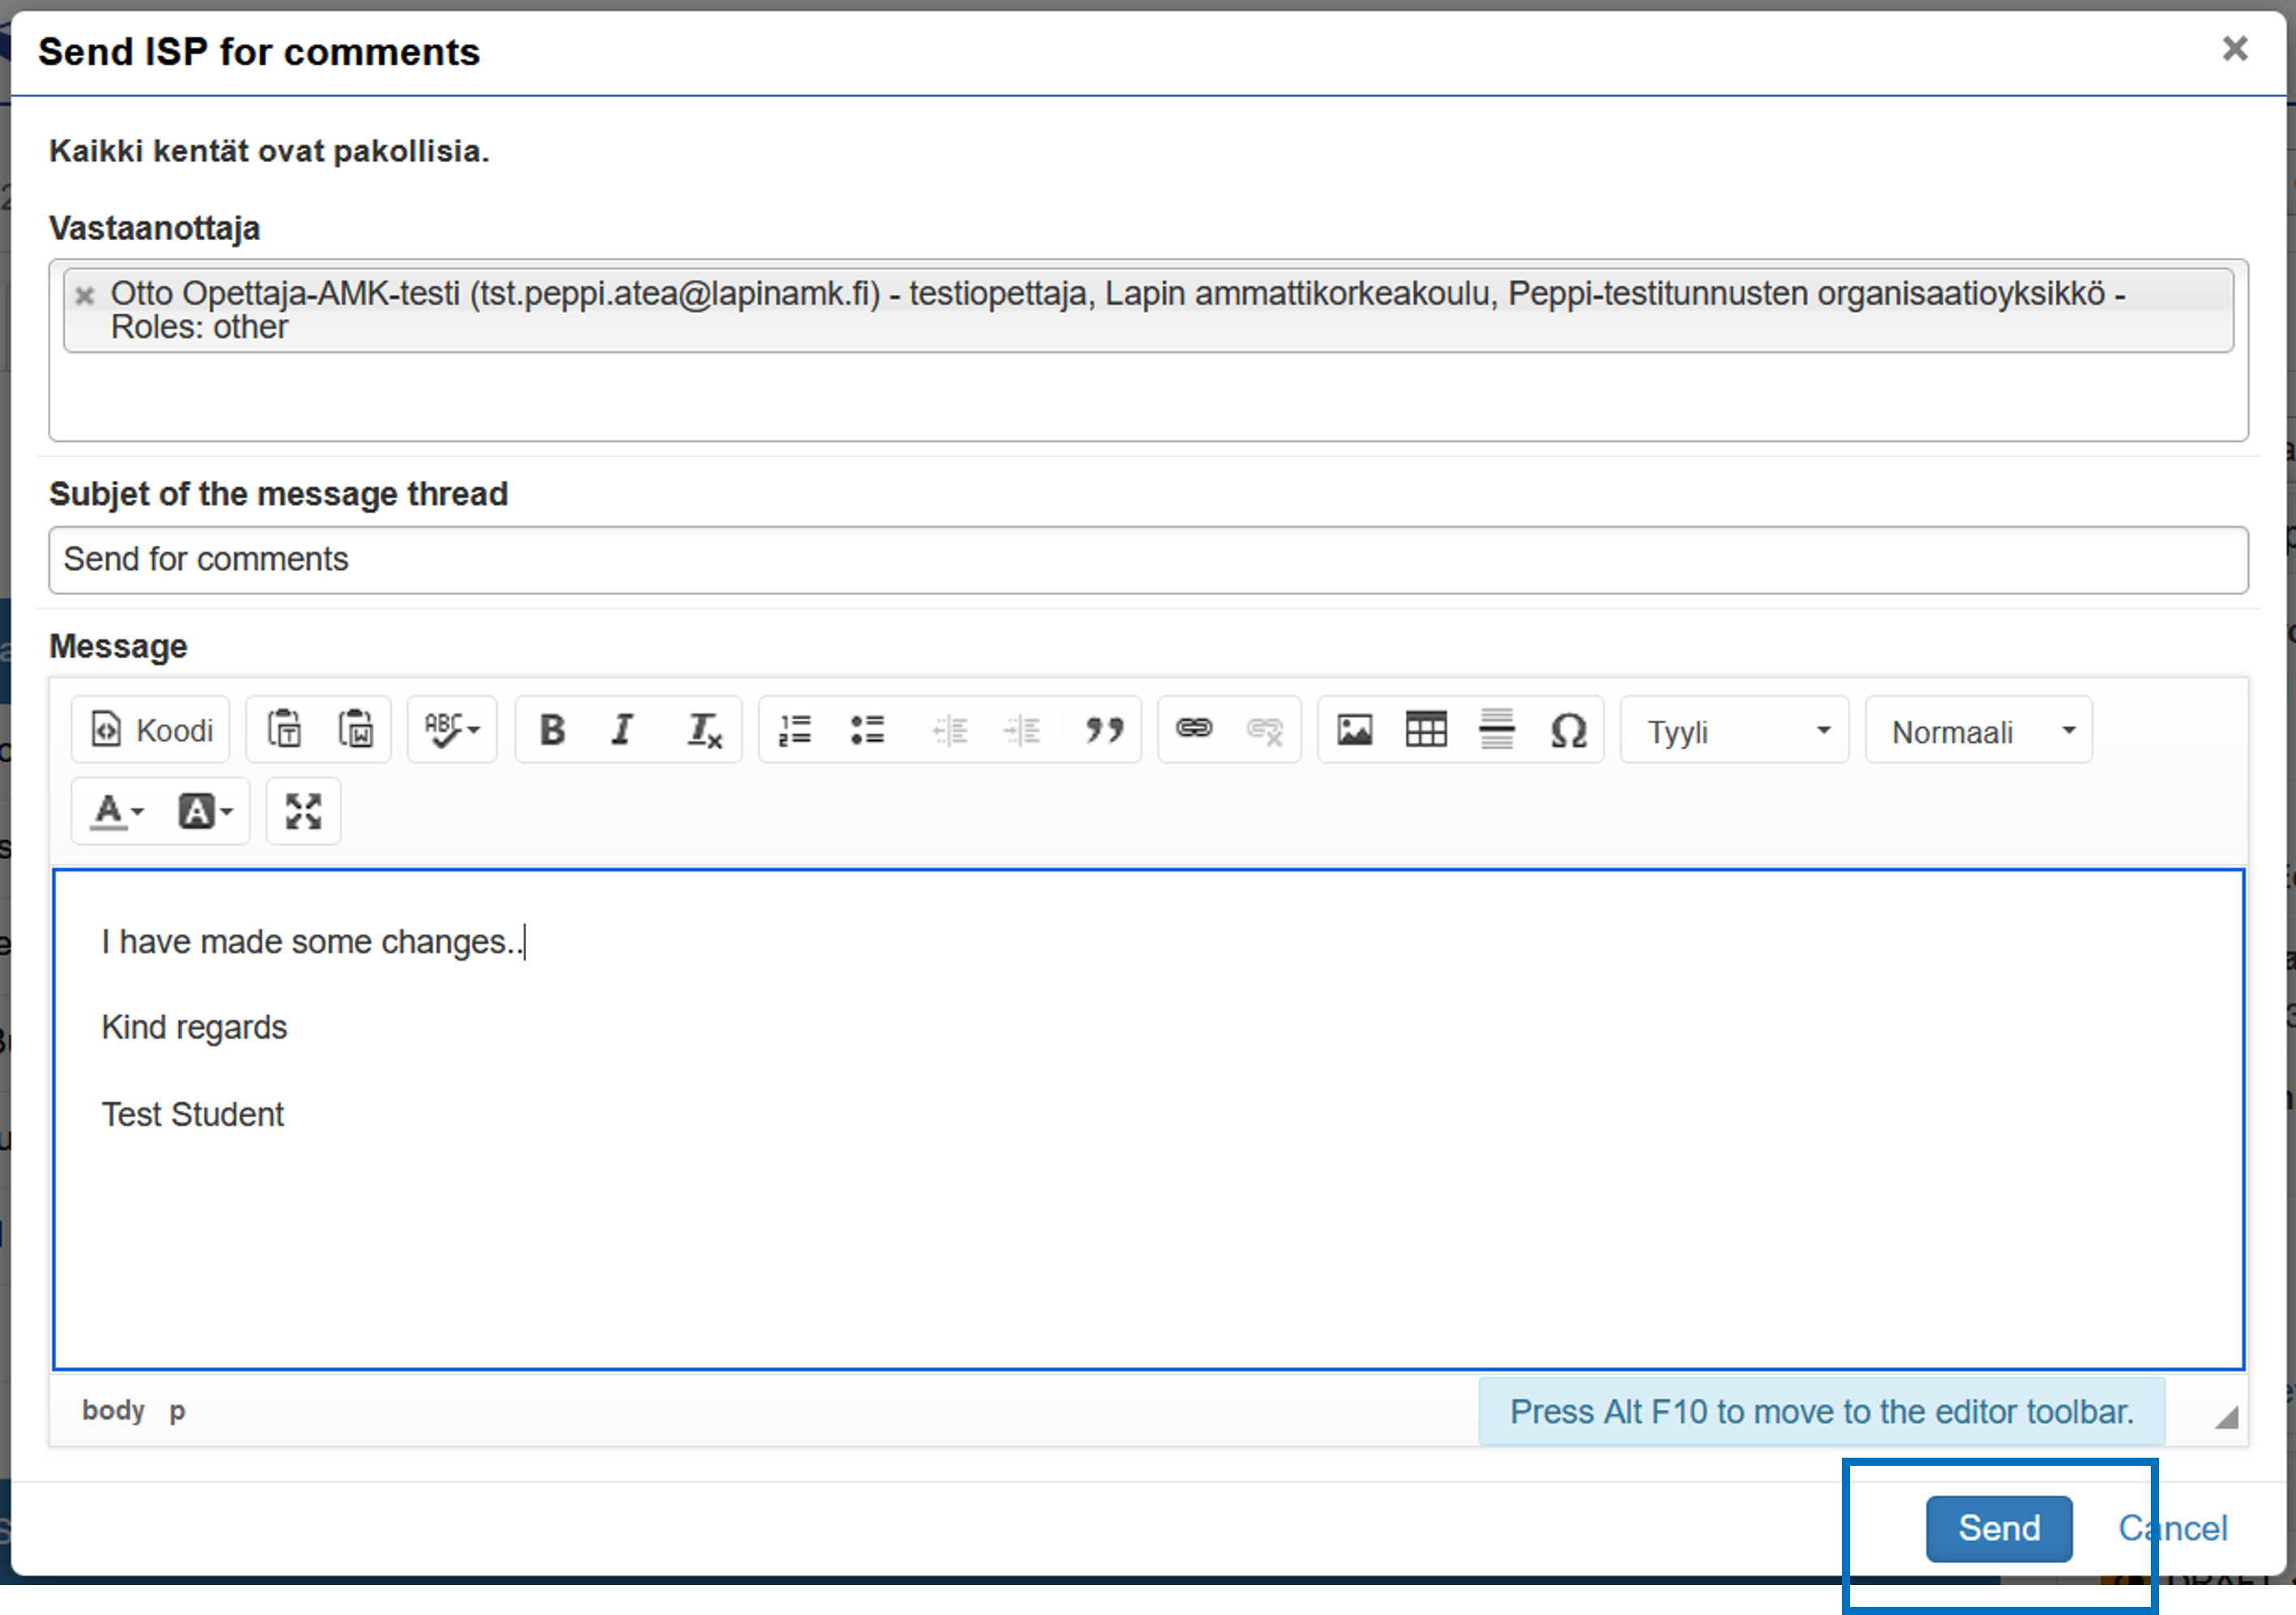
Submitting the ISP for commentary or approval
If you have made major changes to your IPS either in terms of scheduling or added other studies and want to have them accepted as part of your ISP, you can submit your ISP for commentary or approval to your study counsellor.
Click to enlarge the image
Click to enlarge the image
- Select the recipient of the message. You can select as recipient the instructor designated for your right to study.
- Add the subject of the message.
- Type the message in the window that opens. Remember to sign your message. The message is sent to the recepient’s e-mail address but does not include sender information.
- Select “Send”.
Approval of the ISP will generate a new version, which you can no longer edit. A new ISP draft is immediately generated on the basis of the approved ISP, which you can continue to edit, if necessary. You can select the ISP version from the “Select version of ISP” drop-down menu.
Back to the For Student page