
These instructions describe how to complete a pre-application. Pre-application means the pre-approval of future studies as part of your ISP. Pre-application can be used, for example, in the pre-approval of exchange studies. Before completing the application, you should have a discussion with your study counsellor.
Fill out the application carefully and pay attention to spelling. Any information you add to the application will be displayed as you entered it in your completed studies.
Start a new application by selecting eRPL under the My Studies menu in Peppi.
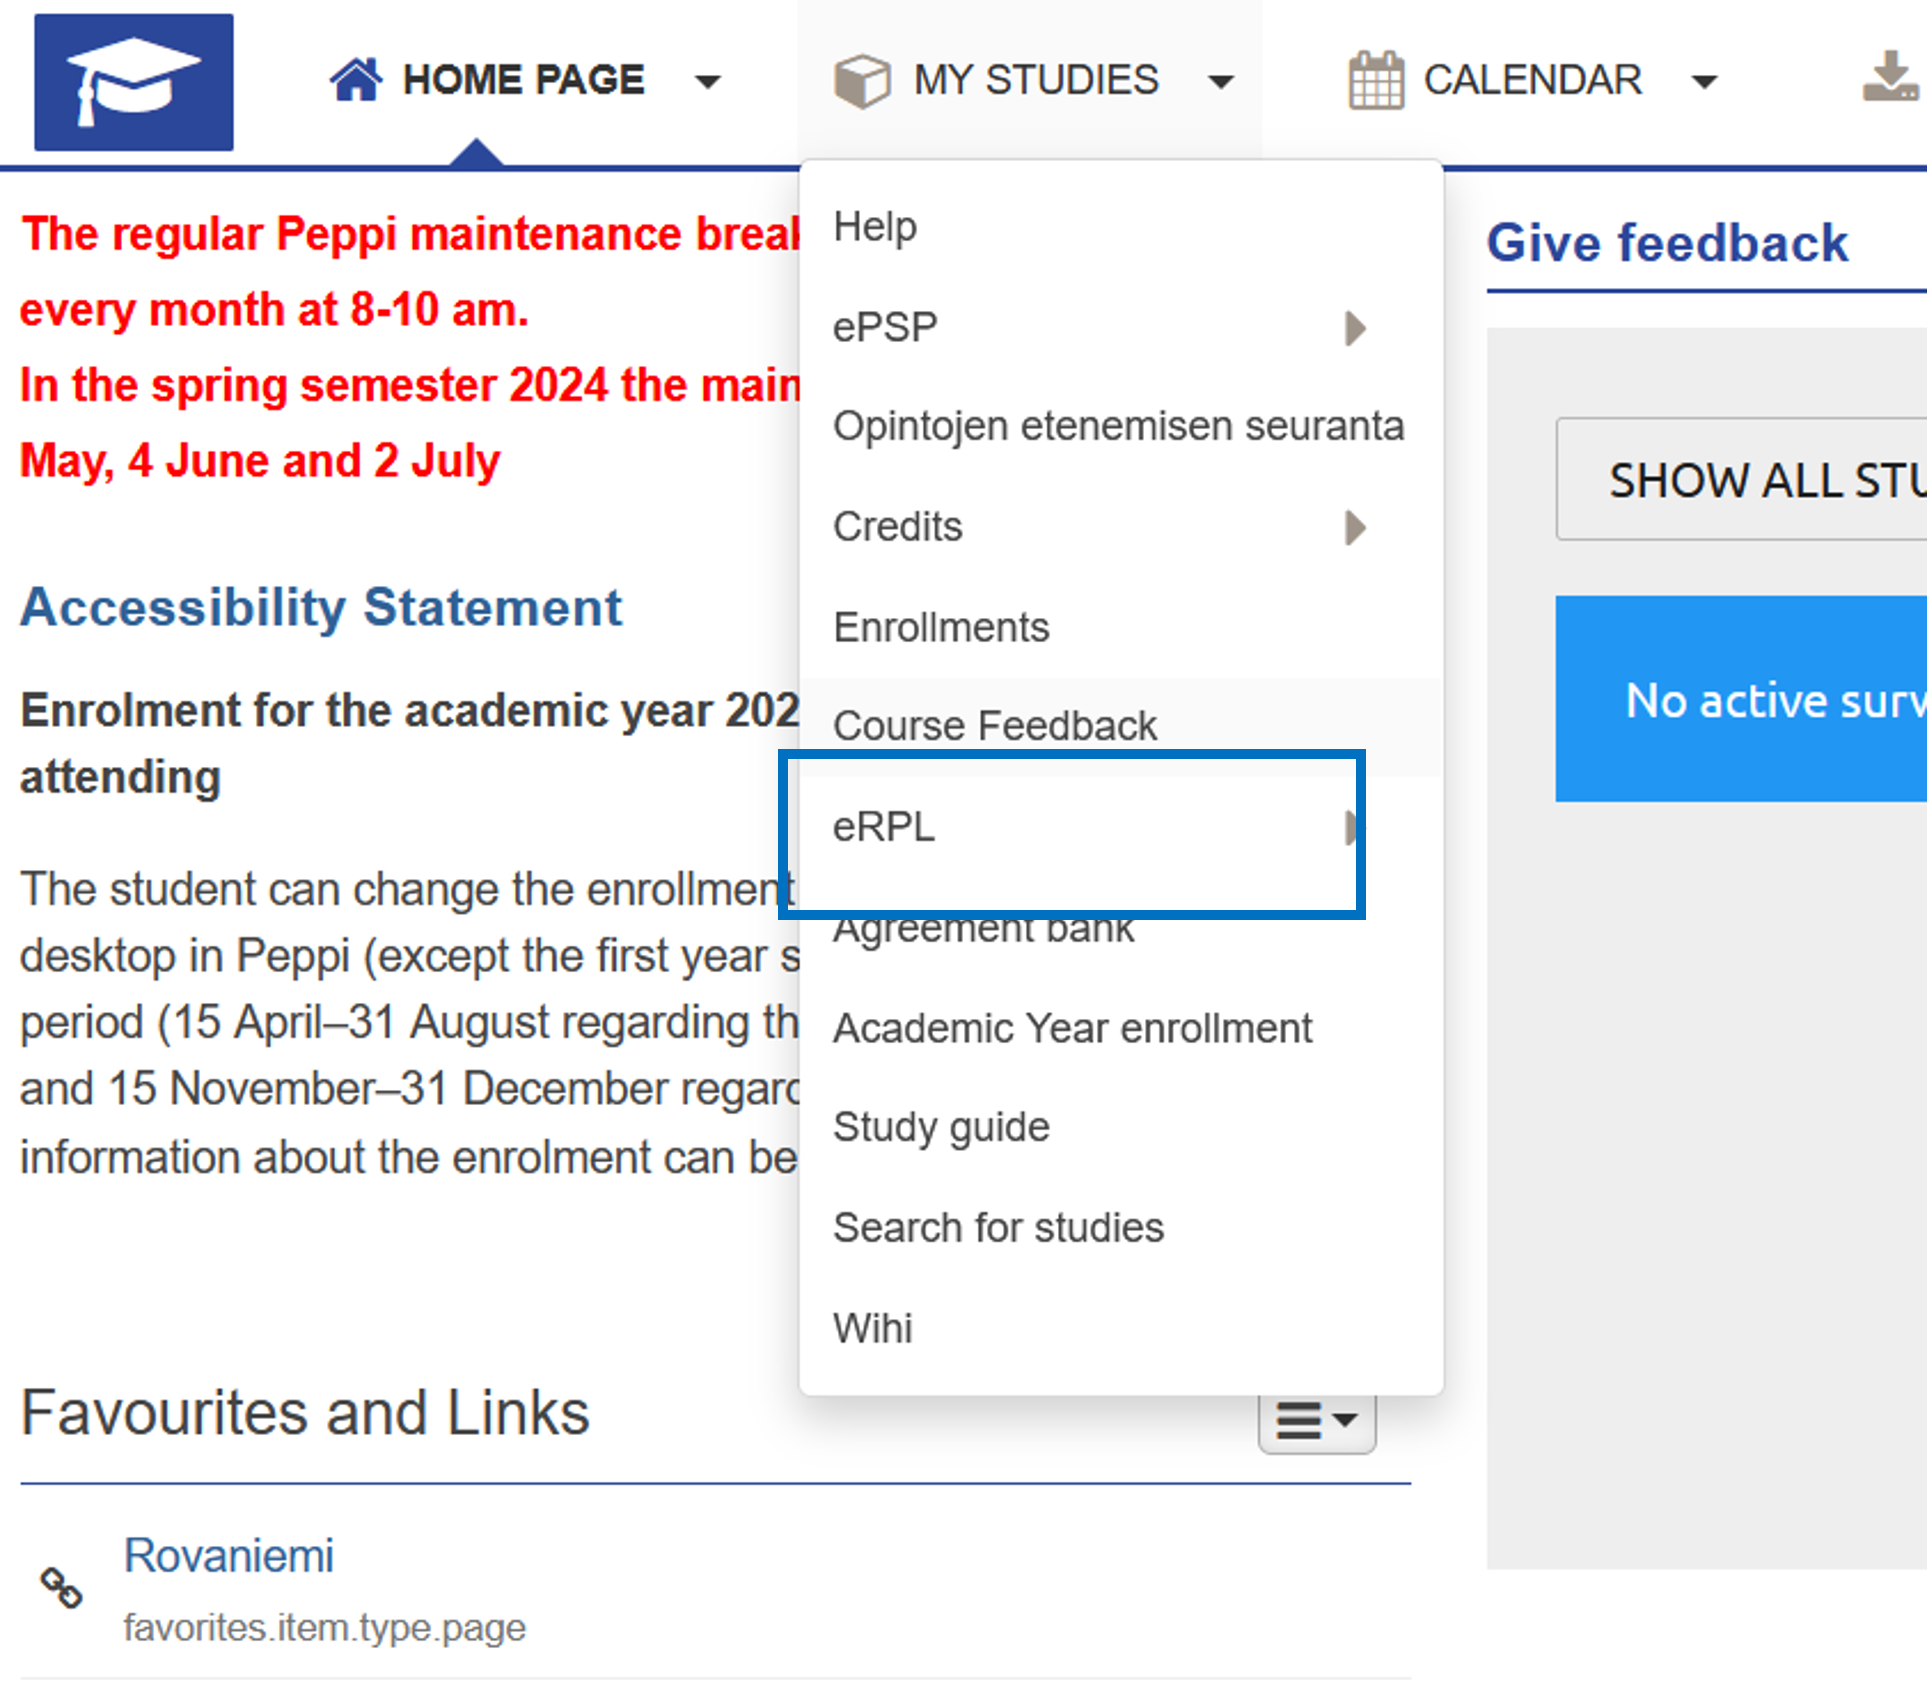
Click to enlarge the image
The view that opens up shows all the applications you have submitted, their status, the persons processing them, and the time of the last update. You can view the details of your applications by clicking the name of the application or by clicking View or Modify on the Actions button (depending on the application status). You can also use the Actions button to copy an existing application as a new template. The pre-applications can be found behind their own tab.
Click “New pre-pplication” to start a new application.
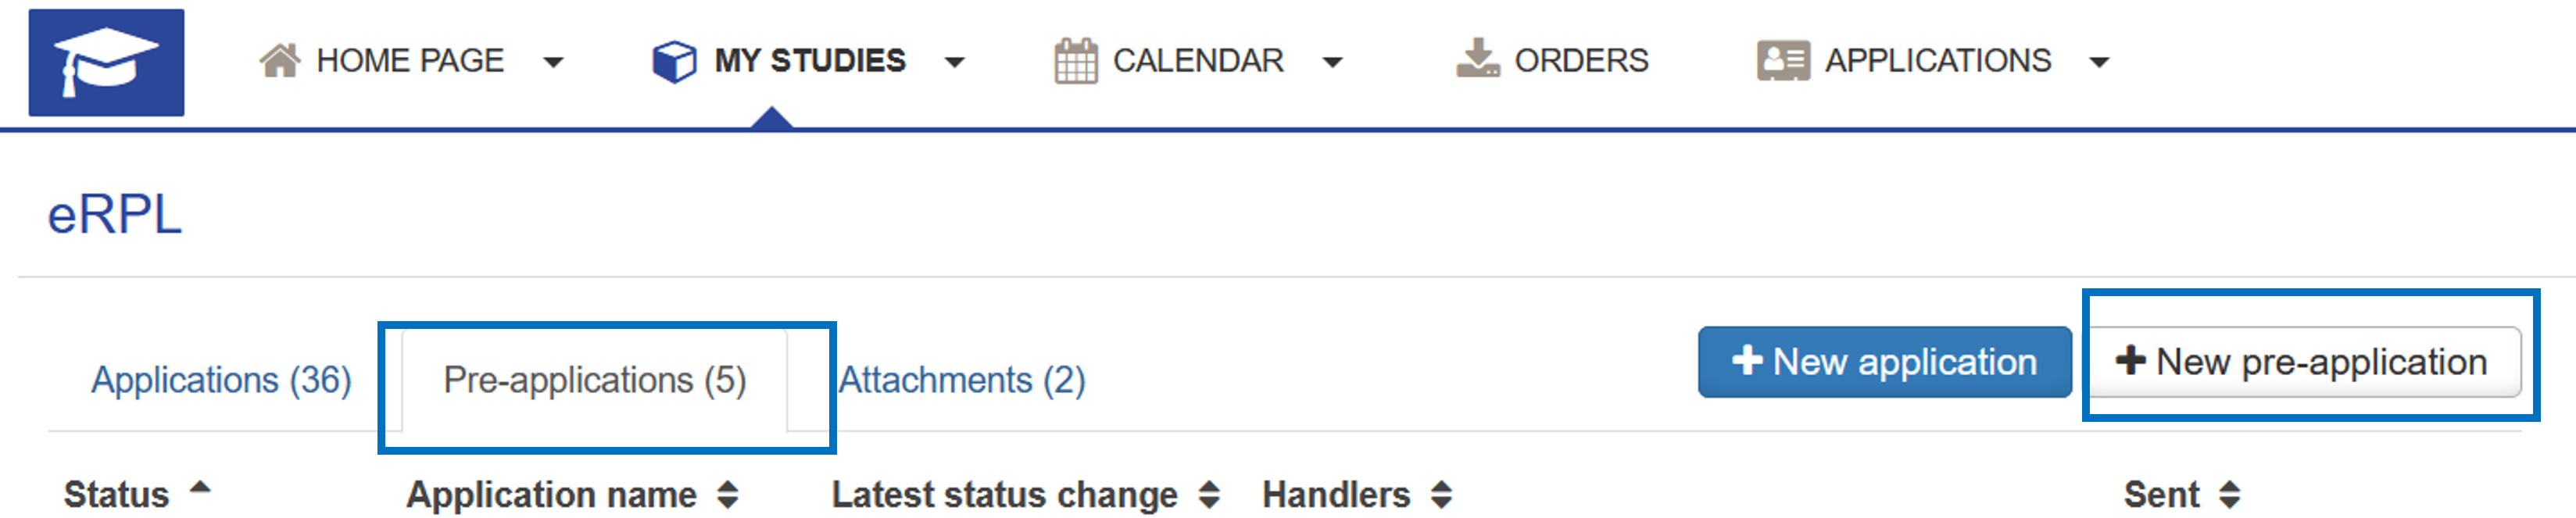
Click to enlarge the image
The system automatically retrieves the basic information about your right to study. Before submitting a pre-application, it is a good idea to discuss credit transfers with your study counsellor. If you have had a guidance discussion, enter the date of the discussion and the person with whom you had the discussion in the application. If you have not had a guidance discussion, leave these fields empty. Finally, click “Save as draft and start filling in the pre-application”.
The application will remain in draft status until you send it to the student affairs coordinator for processing. You can find student affairs coordinators’ contact information at Lapland UAS’ website Student Affairs Office. In the draft status, you can still edit the information on the guidance discussion or additional information on the application. At the top of your application, you can see its status. You can apply for multiple credit transfers with the same application.
Place of performance and attachments
Start filling out your application by adding a place of performance. You can add more than one place, but please enter the information for one place at a time. Even if you apply for multiple credit transfers with the same application, you only need to add each place of performance and the attachments once.
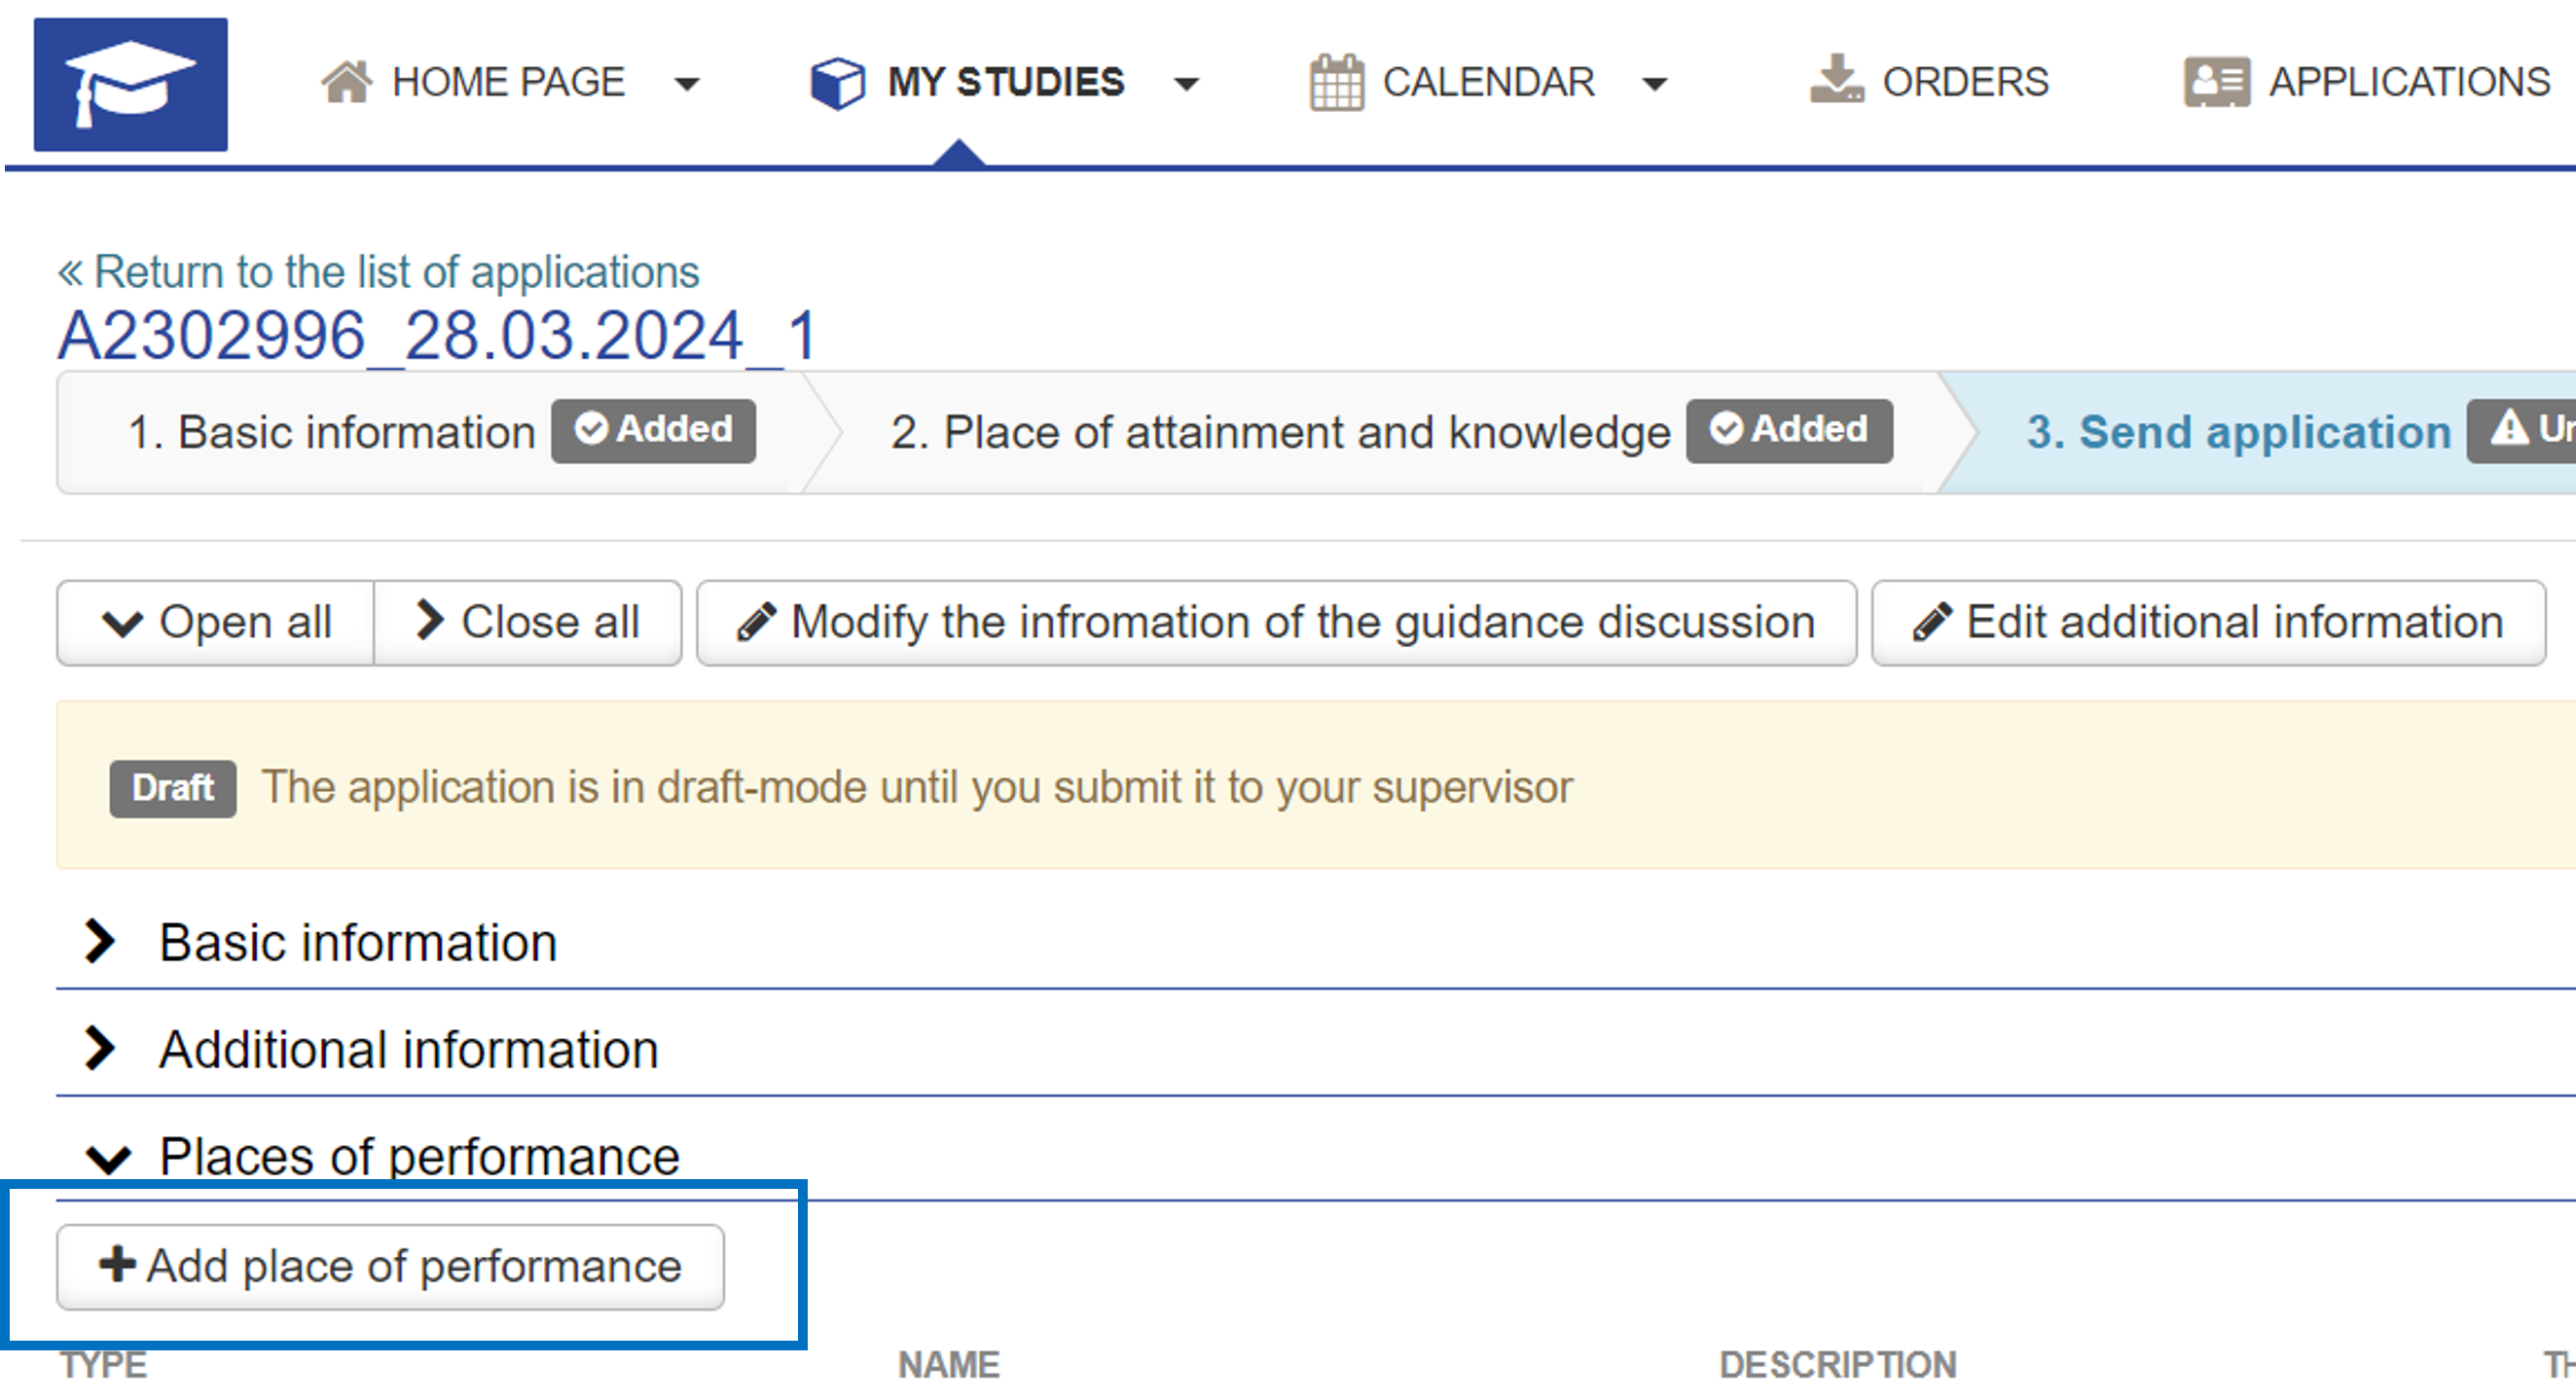
Click to enlarge the image
- Select the type of the place of performance.
- Select the place of performance from the drop-down menu or add the information manually if you cannot find the place on the list. If you add the name of the place of performance manually, click “The place of performance cannot be found in the menu”, in which case you can enter the information in the fields that open up. Pay attention to spelling when adding the place of performance.
- Describe your future studies and competence.
- In this step, you should also add the necessary attachments, e.g. Learning Agreement by selecting “Choose files” or by dragging and dropping the file.
- Click Save.
Adding information on studies to be completed
Once you have added the place of performance, you can add information about the studies to be completed. First, select Add study to be attained.
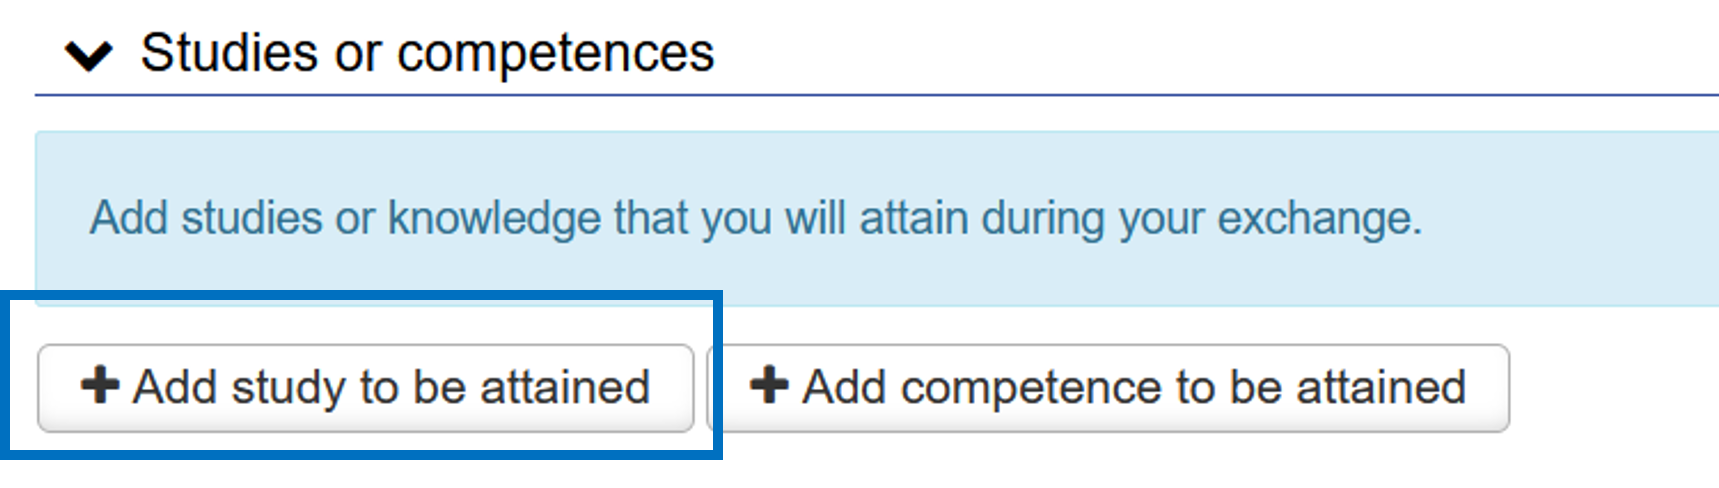
Click to enlarge the image
Select the type of credit transfer you are applying for and choose a handler for the application. If you’re applying pre-approval for the exchange studies to be attained, choose “Inclusion” as a credit transfer type. Always choose the student affairs coordinator of your field as the handler for the application first. You can find student affairs coordinators’ contact information at Lapland UAS’ website Student Affairs Office.
Next, select Add study.
Add information about a study to be completed:
- ID (not obligatory)
- Name (if it is an exchange study, write the name in both fields according to the Learning Agreement, e.g. in English)
- Course credits
- Type of credits
- Language of instruction
- Places of performance (click on the field and you can select the place of performance you added earlier)
- Date of completion (NOTE! The completion date is marked in the future. It is not yet necessary to know the exact date at this stage)
- Justifications
- Click Add
If you wish, you can choose where the studies are placed in your personal study plan (ISP). In the ISP preview, you can see how the studies will look in your ISP. You can also leave this section blank. If you’re applying for substitution, select the study unit(s) you are planning to substitute with the studies to be attained. Click on the arrow button next to the study unit to move it to the “Studies selected to application” section on the right side of the application. You can also select study modules for substitution.
Finally, click Save.
The information you have saved is displayed in the application overview. If you are applying for several studies to be attained, select again Add study to be attained and add every study unit one by one to the application.
When the application is ready, please remember to submit it for processing by clicking “Submit pre-application” in the upper right corner.
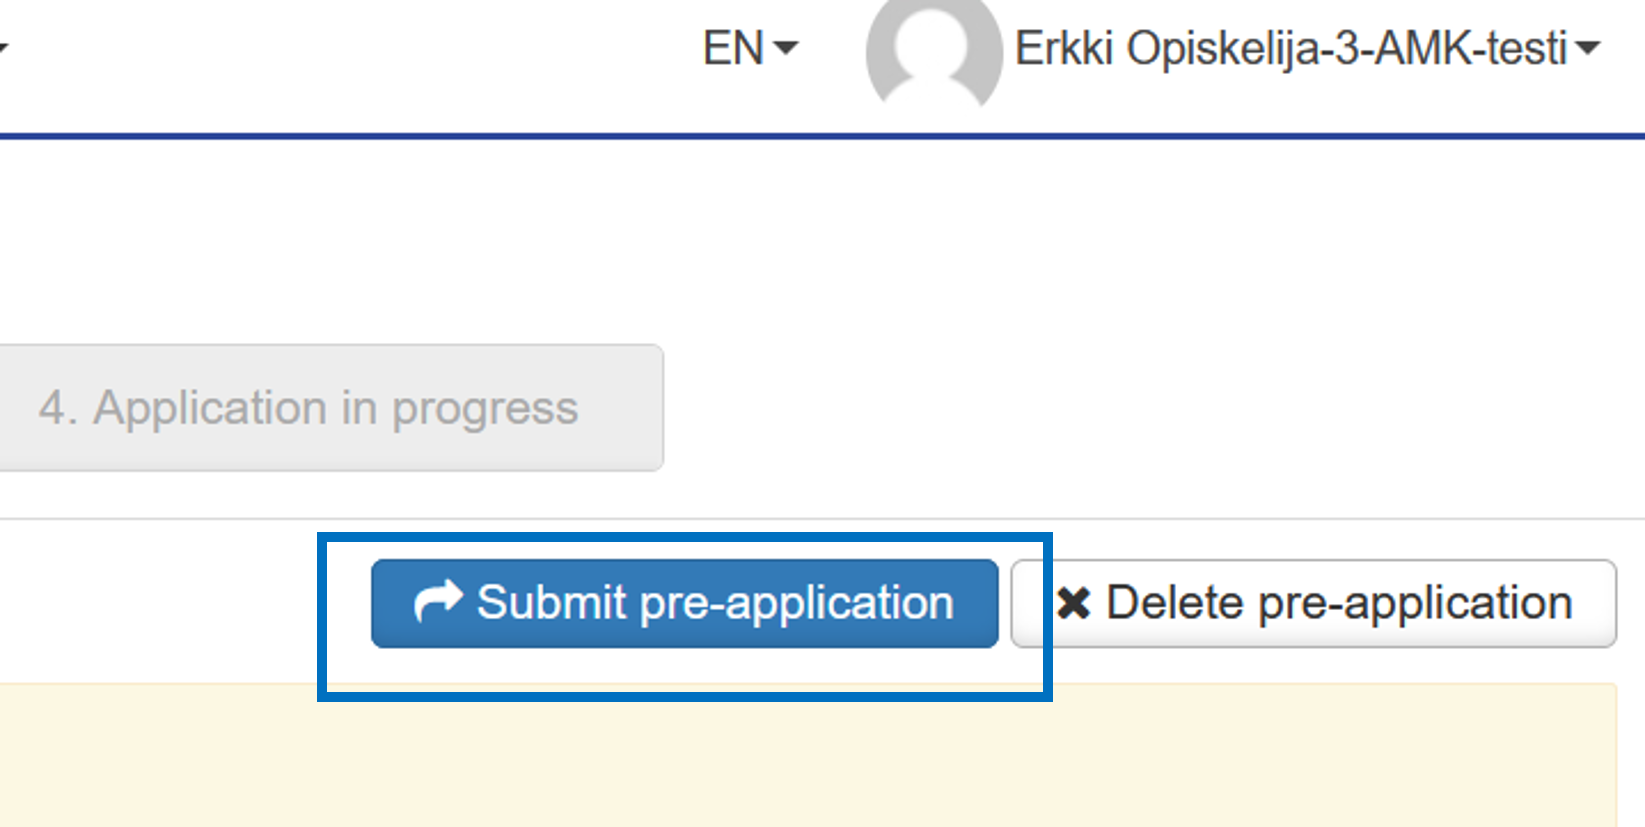
Click to enlarge the image
Changing pre-application into the credit transfer application
Once you have completed the pre-approved studies, you can utilize the pre-application in the filling of the actual credit transfer application.
Start by selecting eRPL under the My Studies menu in Peppi.
Click to enlarge the image
In the eRPL view, choose Pre-applications tab and click on the name of the processed application.
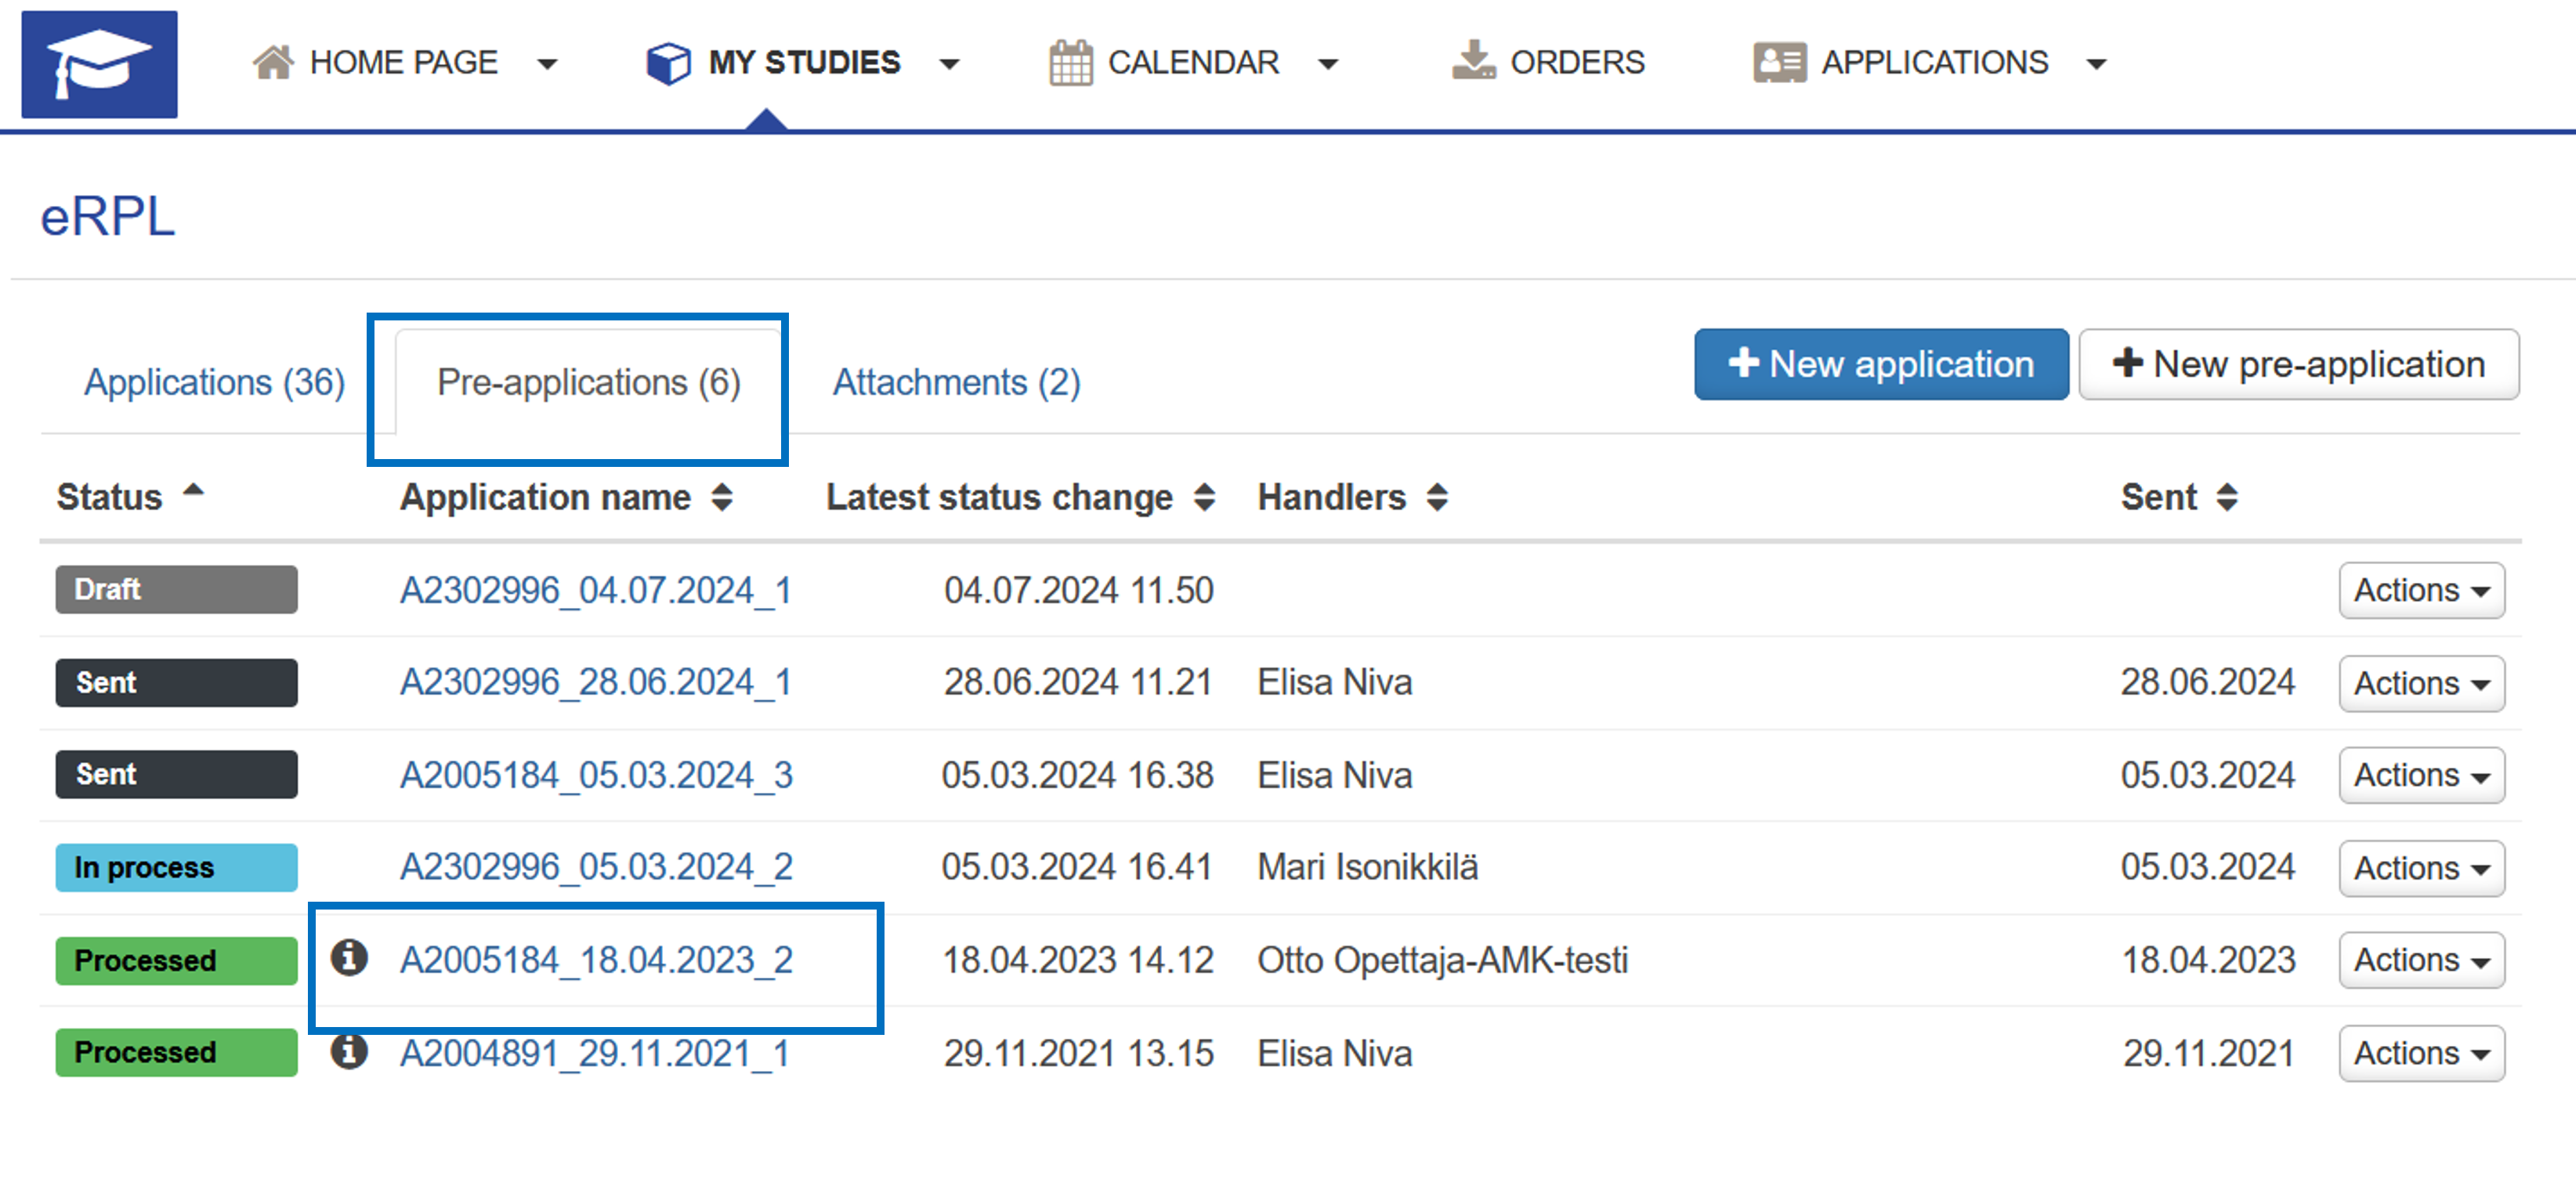
Click to enlarge the image
The status of the processed pre-application can be seen at the top of the application.
Click “Create application” to begin the credit transfer application.
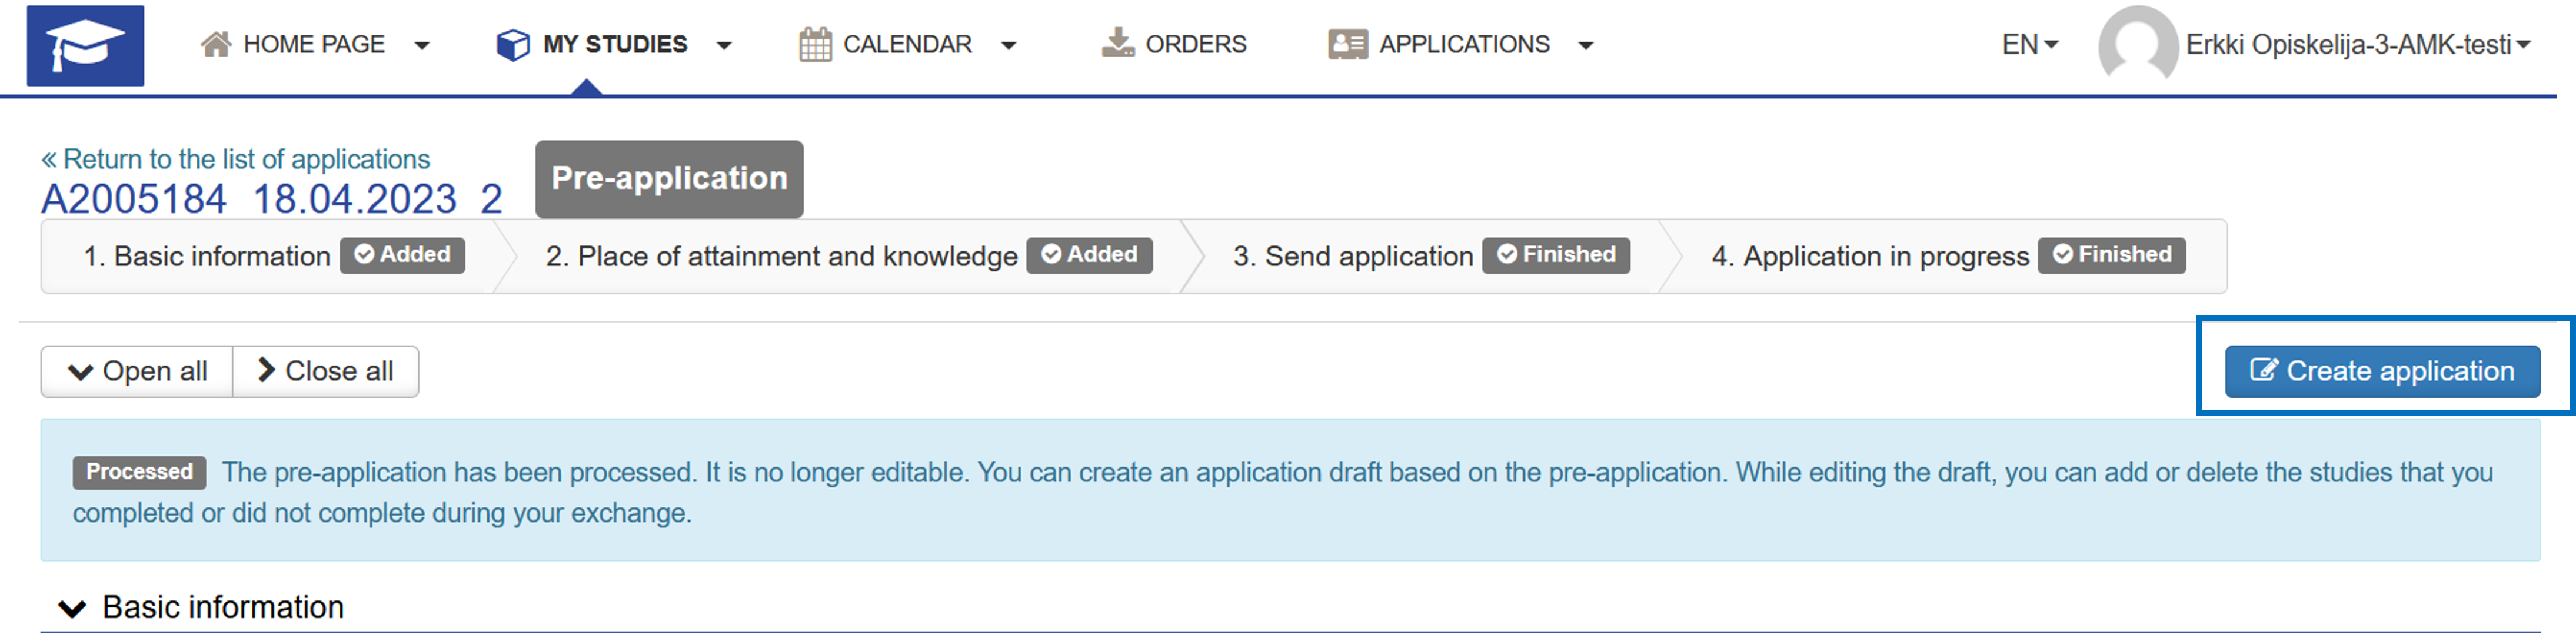
Click to enlarge the image
The application will be a draft until you send it to your field’s Student Affairs Officer. You can edit your application’s guidance discussion information or additional information. A progress bar is shown at the top of the application.
If necessary, you can also view the pre-application.
First, check the information of the place of performance and also add a certificate of completed studies to the application.

Click to enlarge the image
If you have completed studies that weren’t on the approved pre-application, you can add those studies to the application at this point.
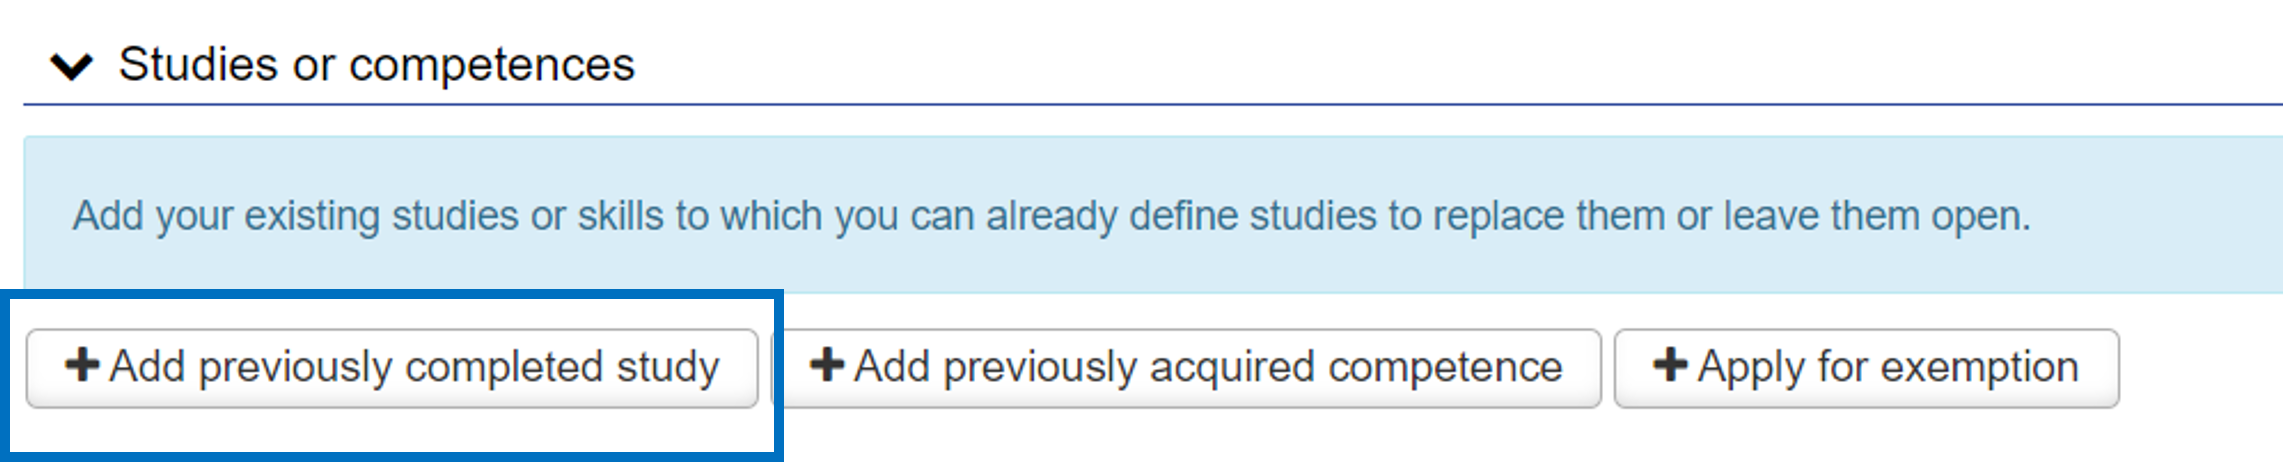
Click to enlarge the image
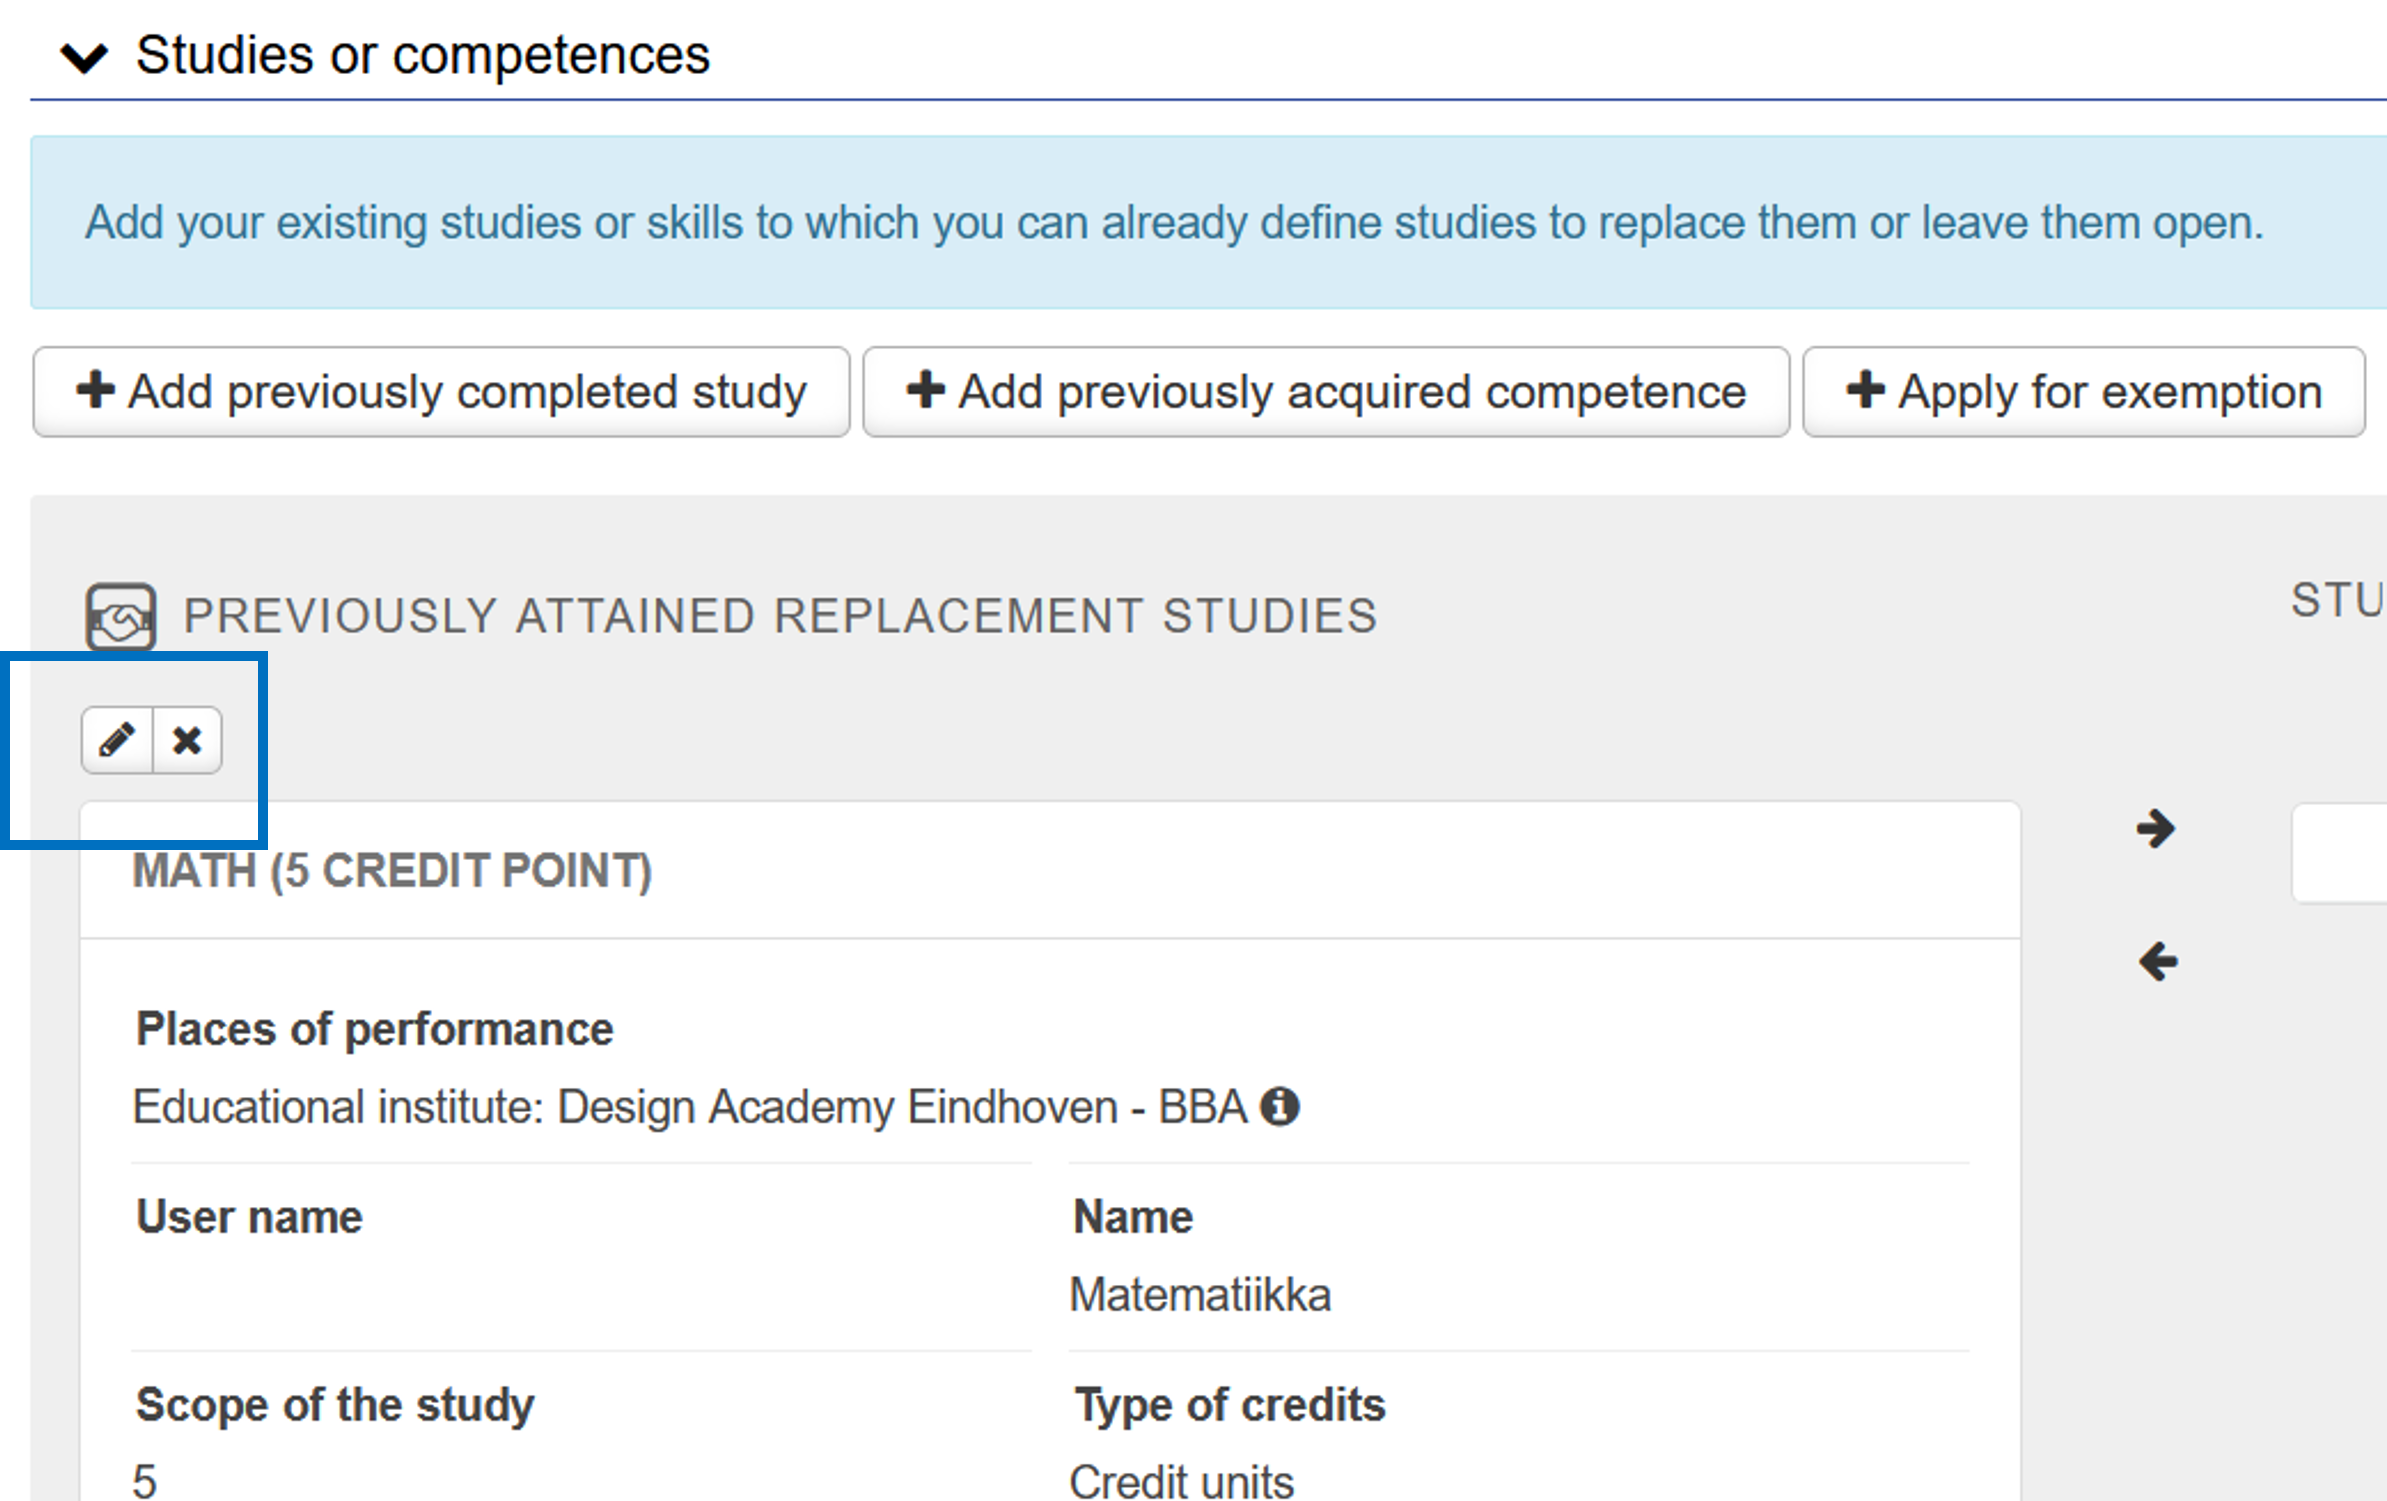
You can edit / complete the information of the pre-approved studies by using the pen icon. If necessary, studies can also be removed from the application.
Click to enlarge the image
You can also import information of the studies you have completed elsewhere through Emrex. Instructions for using Emrex can be found here.
Check that the information about the completed study corresponds to the information in the attached certificate:
- ID (not obligatory)
- Name
- Course credits
- Type of credits
- Language of instruction
- Evaluation
- Places of performance
- Date of completion
- Justifications
Note! If the name of the study you have completed is in other language than Finnish, you don’t have to translate it into “In Finnish” field. In this case, enter the name in the field as it appears on the certificate you received, e.g. in English. Also, pay special attention to the correct spelling of the study’s name.
Finally, click “Save”.
Once you have supplemented the information required for the application, remember to submit it for processing.

Click to enlarge the image
Back to For Students page